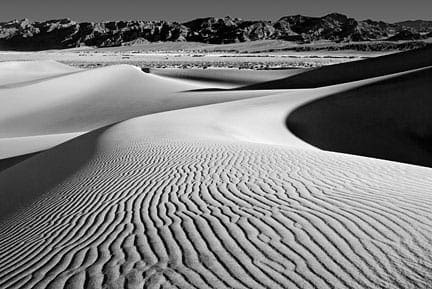
Bring your B&W Digital Images to the Next Level


© Russ Burden
I′ve logged many an hour in the wet darkroom standing over trays, chemicals, and tongs watching prints emerge from the developer. Those were some great times. Hours, that seemed like minutes, would go by tweaking contrast, exposure, dodging, burning, and masking each print. Just me, the hypo, my Graylab timer, and my music. Each session taught me a new nuance regarding filter grades, time in the developer, feathering the light, and so much more. It certainly gave me a one up when I made the transition to Photoshop. It′s sad that many Photoshop users won′t ever get this experience or don′t understand why the dodge and burn icons appear as they do in the toolbar. Those of you who now have a smile on your face can certainly relate. While I lament the shutting down of my wet darkroom, I rejoice in the ease and capability Photoshop offers to make stunning B&W images. Use the following tips to bring your B&W digital images to the next level.


© Russ Burden
While it performs the task, I encourage you to not use the easy method of going to Image>Mode>Grayscale. It lacks the snap and punch that′s necessary to create a good B&W image. I also urge you to not use Image>Adjustments>Hue Saturation and move the saturation slider to the left. Again, it produces a flat impression. A method that does result in a good print is Image>Adjustments>Channel Mixer. It provides more control regarding contrast and how given colors in the original capture are replicated in shades of gray. It proved to be my stand by method until Adobe incorporated a B&W converter into Camera RAW in addition to adding a B&W Adjustment Layer in Photoshop. I′ve since abandoned the Channel Mixer for either of these two methods.

© Russ Burden


