How the “Aperture Priority” camera setting can transform “snapshots” into compelling images that tell a story.
How the “Aperture Priority” camera setting can transform “snapshots” into compelling images that tell a story.
The aperture setting controls the “depth of field,” i.e., how much of the photo will be in focus, and how much will be blurred.
“Small” or “Narrow” aperture (e.g. f 22) = a deep depth of field
“Big” or “Wide” aperture (e.g. f 4.0) = a shallow depth of field
Below are two examples of shallow and deep depth of field photos:
f 4 – the area in focus is shallow
So, foreground is rendered sharp and
background is blurred

f 22 – the area in focus extends
from front to back – i.e. deep

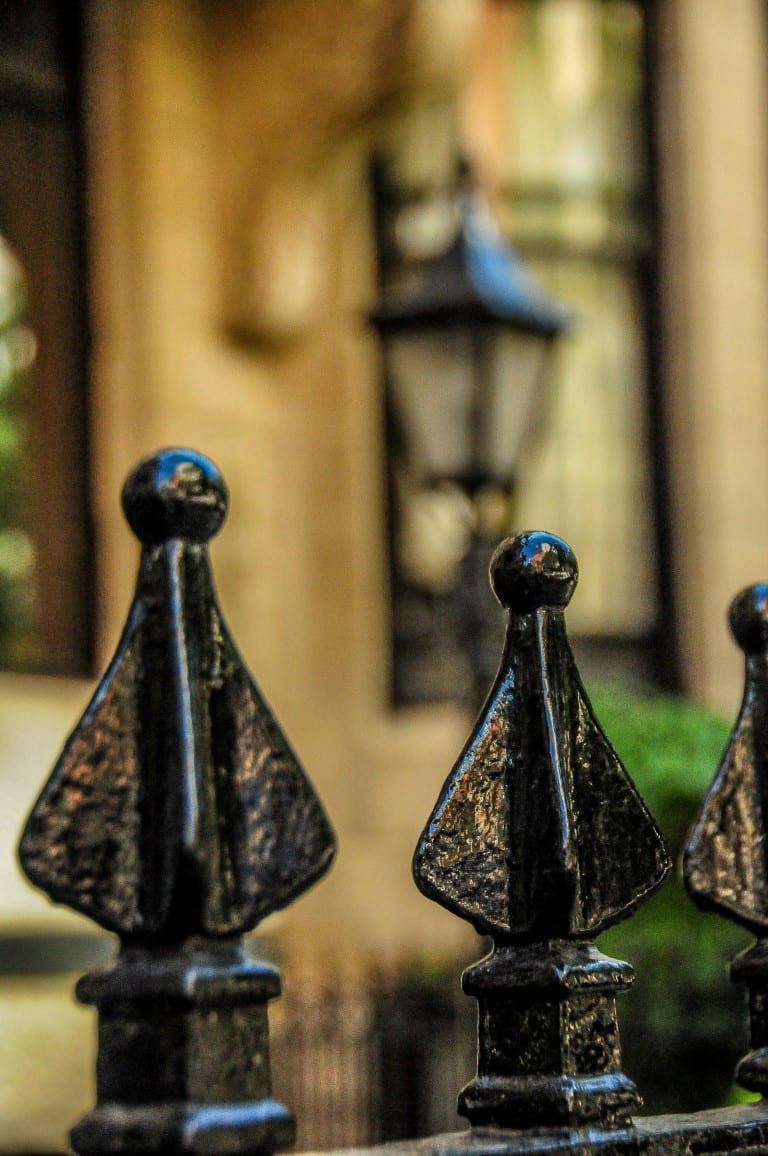
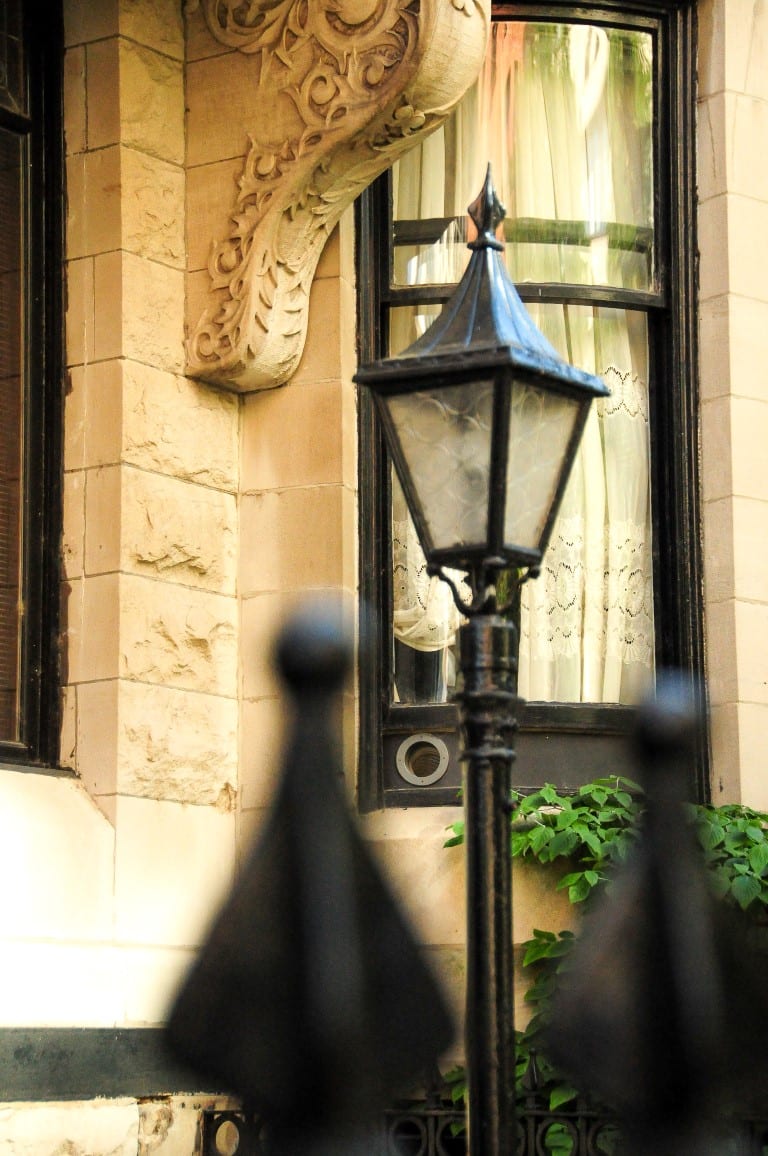
Below are two more shallow depth of field photos (“large” e.g. f 4.0 aperture).
WHAT is in focus (that is, the foreground or the background) is determined by what the photographer focuses on. If he focuses on something in the foreground, the shallow depth of field created by the large aperture will necessarily blur the background. Conversely, focusing on the background will blur the foreground elements.


TIP: This effect is most effectively achieved:
a) With your camera set to aperture priority (“A” (Nikon) or “AV” Canon),
select the widest aperture available (e.g. as close to f/2.8 as possible),
b) Position yourself (and your subject, if posssible) so that the foreground and
background elements are not too close together, and
c) Use a telephoto lens, or if a zoom lens, zoom it OUT to its longest
focal length (e.g. zoom your 35-100 mm lens to 100m)
The combination of these three things will give your camera the best chance
of capturing this effect, i.e. “isolating” the subject in a shallow depth of field.


