DPA Magazine
Wait for the Drama
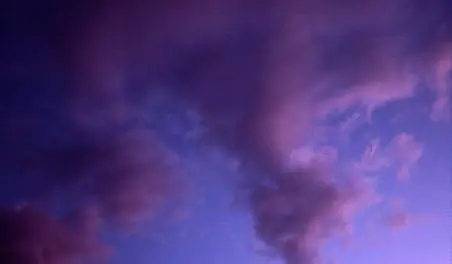
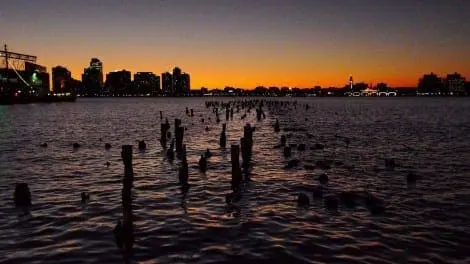
© Adam Stoltman Sometimes the most dramatic images of a sunset present themselves well after the sun has gone down. In this instance, the magenta and lavender clouds reflect the faint glow of the receding sun even though it is already well below the horizon. By waiting well past the time that the sun has gone down, I was rewarded with a one of those magical moments where sky, clouds, and the horizon all presented themselves in the most dramatic fashion. Always wait a little longer even if you think there are no more pictures to take. You will be surprised at what unfolds before you.
The Sweet Light
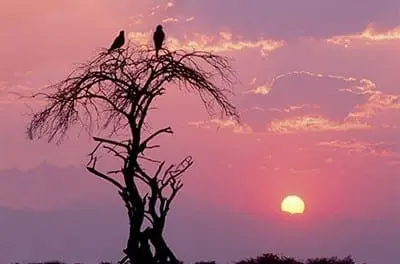
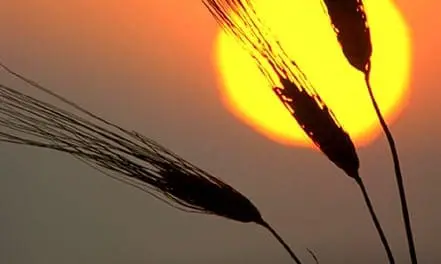
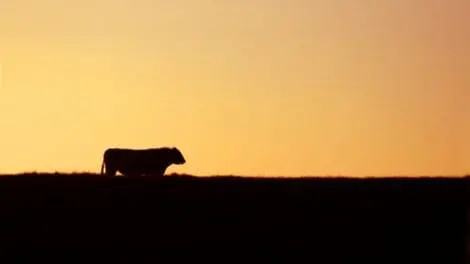
As a nature photographer, sunrise and sunset are my primary times to shoot. If you’re a regular reader of my weekly Tips, you know I love the “sweet light” these two times of day provide. The color and quality of sweet light is unrivaled. The warm glow, the sidelighting, and the vibrant and saturated colors they impart can’t be had at any other time of day nor can they be faked in Photoshop. Every sunrise and sunset is different and the more you get out to shoot at these times, the more you’ll understand what I’m saying. © Russ Burden There are many ways to exploit the sun’s effect at sunrise and sunset. First, when clouds accompany a sunrise on the eastern horizon or a sunset on the western, vibrant color may enhance your subject. Second, take advantage of the sweet light falling upon the landscape bathing it in golden tones of yellow, red and orange. Finally, and the focus of this article, is photographing the sun when it’s on the horizon. As a subject unto itself, unless the color in the sky is electric, you’ll find it’s better to include an additional element to add intrigue to the photograph. © Russ Burden In that the sun is a very bright source of illumination, unless it’s dramatically diffused, backlit subjects that are included in the composition will reveal little or no shadow detail. With this in mind, finding an interesting silhouette will greatly enhance the impact of the photograph. The more graphic it is, the better. For instance, an outline of a rectangular building will be rendered as a large black blob whereas an old leafless cottonwood will be much more pleasing. Equally as important as the choice of silhouette is where you place the sun and the main subject. Avoid compositions where both appear in the center. Try to use the rule of thirds as often as possible for both the sun and silhouette. sun on horizon 2 russ burden photography tips techniques sunrise sunset © Russ Burden There are concerns that need to be addressed if you plan to add this technique into your repertoire. First and foremost, avoid looking directly at the sun through your viewfinder, especially if you’re shooting with a telephoto. You need to squint and look at other parts of the frame when you create the composition. If there are no clouds to soften its intensity, this becomes even more critical. In situations like this, wait until the sun is almost touching the horizon. To get the proper exposure, take a meter reading without the sun in the frame and use this as your base point. After taking a photo with this reading, check your histogram to make sure you don’t clip either the highlights or shadows. If so, compensate accordingly. You may find that the exposure will rapidly change so check your histogram often to make sure you don’t lose detail in important areas. sun on horizon 3 russ burden photography tips techniques sunrise sunset
Sunset Pananorama
© Jarvis Grant For those over sized sun disks, use a long telephoto lens 300mm or more. Using a tele-converter will work as well, just as long as you can get up to 300mm. For this photograph of the Cathedral, I stitched three photographs together. While the long lens creates that great big disk, it also creates a very shallow field of view. So to increase my field of view, I made a horizontal stitched panorama using Photoshop′s PhotoMerge command. When in Photomerge, I used Reposition align instead of Auto to align the three file manually. Also be sure to use Auto Blend to allow Photoshop to create the Layer Masks for each layer.
Sunset Over Sunrise
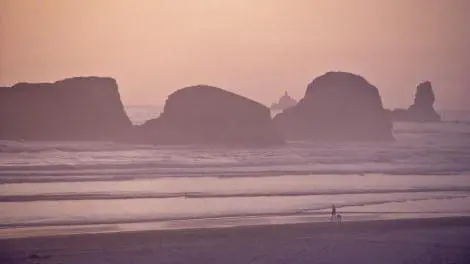
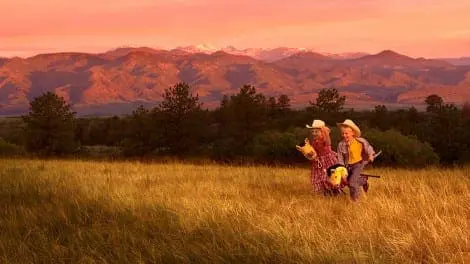
0 false 18 pt 18 pt 0 0 false false false /* Style Definitions */ table.MsoNormalTable {mso-style-name:"Table Normal"; mso-tstyle-rowband-size:0; mso-tstyle-colband-size:0; mso-style-noshow:yes; mso-style-parent:""; mso-padding-alt:0in 5.4pt 0in 5.4pt; mso-para-margin-top:0in; mso-para-margin-right:0in; mso-para-margin-bottom:10.0pt; mso-para-margin-left:0in; line-height:115%; mso-pagination:widow-orphan; font-size:12.0pt; font-family:"Times New Roman"; mso-ascii-font-family:Calibri; mso-ascii-theme-font:minor-latin; mso-fareast-font-family:"Times New Roman"; mso-fareast-theme-font:minor-fareast; mso-hansi-font-family:Calibri; mso-hansi-theme-font:minor-latin;} I prefer photographing sunsets to sunrises. I believe that the light in the evening is warmer and has many times more color than in the mornings. Best results are usually found when it is lightly overcast and some interesting clouds are in the sky. © Wolfgang Kaehler When I am looking for spot to view and photograph the sunset or sunrise, I try to place something typical of the area into the foreground. It could be a sculpture, people walking on a beach, trees, etc. This will give your photos depth. My exposure is right on the sunset and the subject in the foreground will be silhouetted. © Wolfgang Kaehler When shooting sunsets, I have seen that photographers pack up their gear and leave a scene too early. After the sun has gone below the horizon, wait for about 10 – 15 minutes. Have your camera on a sturdy tripod pointed towards the sunset.
Sunrise Over Morocco
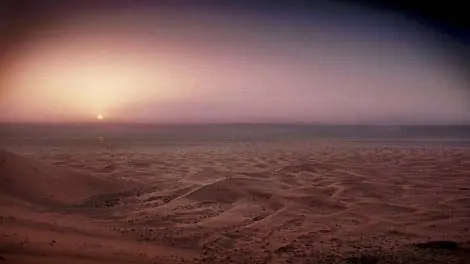
© John Bentham When shooting sunrises there are a few tricks you can employ to ensure better results. Try using a graduated filter, or as in this photo two graduated filters stacked, one Neutral Density (gray) and one blue sky filter. The filters bring the exposure of the sunrise sky more in line with the exposure required for the foreground, in this case a 6am sunrise over the desert in Morocco. Grad filters are like putting sunglasses on the camera but only in the top part of the frame. You slide the filter up and down to position the dark part of the filter line up with the horizon. Sunrises tend to happen very quickly, it starts to get light and then boom, all of a sudden the sun is up and its daylight, unlike sunsets which take a long time and the light and color temperature change as the sun gets lower in the sky. There are a number of iPhone Apps that aid in finding exactly where and when the sun will rise. I like Focalware and Sun Seeker but I also try and scout the location when possible, I carry a compass when I travel (also useful for noting exactly where the sun will fall). It helps to have a guide who knows where the sun will come up because you have to ready to shoot a 1/2 hour before it does, always tap local knowledge when possible.
Key Tips for your Capturing a Sunset
Some Tips for capturing your sunset 1. Always try to use a tripod to maximize image sharpness. 2. Often, if you use a large aperture (Small F number like 4.5 or 5.6) the image of the sun may be larger that at a small aperture. 3. Do not meter the scene as framed. If you meter the sky without including the sun first, then use that reading when you re-compose, this will provide better exposure values and not become too dark. Try metering, continue to hold the button down halfway, recompose and then push the rest of the way down.
It Pays to Have Patience
© Allen Birnbach One of the greatest lessons I have learned from shooting over the years is that it pays to have patience. Often times, we are presented with a situation where there are clouds in our scene, and it may seem that a sunrise or sunset with magic light is not going to happen. The natural inclination is to pack up the gear, and head out, but I promise you, that is not the thing to do. Having patience and being tenacious is key here, because there are those times where the clouds open and suddenly you have a once in a lifetime image.
Exposing for Sunset
© John Bentham When shooting sunsets it’s often very difficult to get a correct exposure. You’re shooting into a light source thus the camera meter is fooled info stopping down the exposure, rendering the sky/sun correct, saturated and with the correct density but the foreground (water or landscape) is much too dark. In many situations you can’t successfully use an HDR composite process because the water is moving or the leaves are blowing in the wind. But you can do an old fashioned cut and paste of two exposures. © John Bentham This photo was pasted together of one dark and one light exposure giving a correct exposure over all. The dual image shows the two original exposures, overexposed is on top (for water exposure), underexposed is on the bottom (for good sky exposure). Remember to shoot a bracket to cover yourself with much darker and lighter frames. Shoot this on manual setting to capture a correct sequence of brackets, alternatively you can use the auto bracket setting in your DSLR. Then you simply choose the correct exposure for the foreground and another for the sky and paste them together in Photoshop. Tip: It helps to have a relatively clean horizon when doing the paste and you should shoot the bracket using a tripod or at the very least rest the camera on something so it won’t move during your bracket. John Bentham
Around the Corner
© Judith Farber I was driving to my friend′s home in Stinson Beach, CA, when I took a side road and ended up at these cliffs at sunset (a huge drop to the crashing surf below).Camera, a few inches away from my reach...the photo was captured! Be adventurous, take alternative routes, always ready with camera. You just never know what is lurking around the corner.
Back Up Your Photos
Back Up your Photos: You should have a minimum two copies of everything, plus ideally a third copy off-site in the event of fire or theft. The photos that appear here were shot by Wolfgang Kaehler, DPA instructor in Seattle. These beautiful and historical images are from a restored schoolhouse on the Tall Grass Prairie Nature Preserve in Kansas. Wolfgang has traveled extensively, to over 200 countries, and has an archive of over 500,000 images. That roughly translates to 320 images per week, for 30 years. And that 1/2 million images is just the selects, not counting the deleted images. You can be sure Wolfgang has multiple redundant back-up systems for his extensive photo library. © Wolfgang Kaehler Professional photographers are very particular about backing up their images. You only need to have one disastrous computer crash to teach you that. You also want to clear your laptop (or desktop) of images. One reason is it forces you to have a back up, but also for performance. The less on your laptop the faster the programs will run, the computer uses empty hard drive space as a scratch disk (processing space, like virtual memory). Also the hard drive on your laptop could crash permanently (happened to me 3 years ago). Your best bet is 3 copies of photos, one on a hard drive, one on a server and one off-site (a friend or relatives house), in case of fire or theft. In 25 years I have worked at 3 studios that burned up in fires, the photographers lost everything. I prefer Lacie drives, either 1TB or 500GB. I have 7 of them, never had problems with any. In theory hard drives do have a limited life span. Ive heard of them dying after 5 years, The oldest one I have is 8 Years. Alternatively you can just upload to Flicker or Snapfish for free. If you back up on a server you don’t worry about the hard drive. If you don’t want to go the server route Id suggest 2 500GB drives and double back up, one of them should be stored off-site. If you have a recent Mac you can use Time Machine which backs up automatically and painlessly (I use it, its so easy I can forget about it). You can by a Lacie 500 GB drive for about $100. CDs and DVDs are useless as backups. They have a life span of 2 –5 years, in spite of the fact you probably have some music CDs that have been around for 10. Disks are only a temporary backup, or for delivering images to a client. Firewire is a faster upload than USB but if you don’t need the speed USB drives are less expensive. Check your Mac to see what type of Firewire connectivity you have. IE: Some 17inch Macbooks only have a FW800 port, which is faster than FW400 but not all Macs have Firewire 800. Another way to have an offsite back up of your favorites is to upload to the DPA student gallery. Don’t put this off! Back up your photos now.

